Fuselage 2
Fuselage page 2
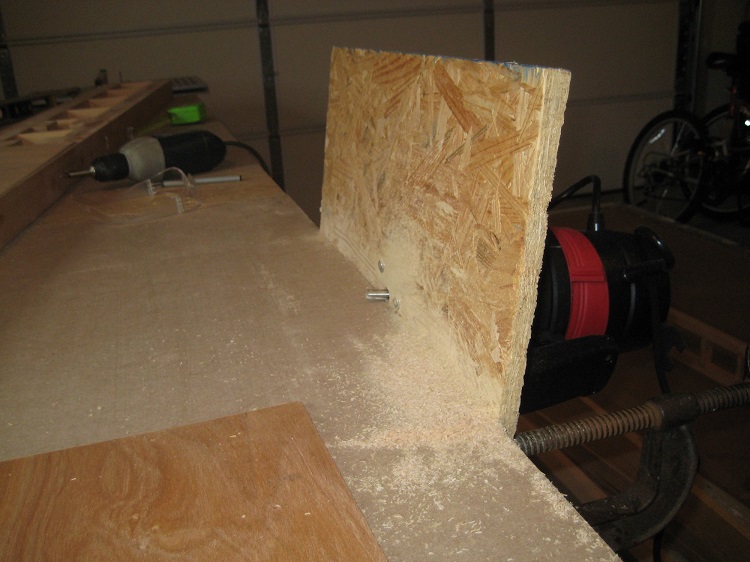
Before covering the side panels (or wing spars later) with 3/32" plywood, you need to scarf the plywood edges so the pieces mate securely and seamlessly. For this operation, I've rigged up the contraption you see here. I bolted my router to a piece of cheap plywood so the blade is sticking through a hole. Then I attached the plywood mount to the worktable with vices. It's tipped back at about a 5 degree angle. Lay the aircraft plywood flat across the table and send it under the blade.
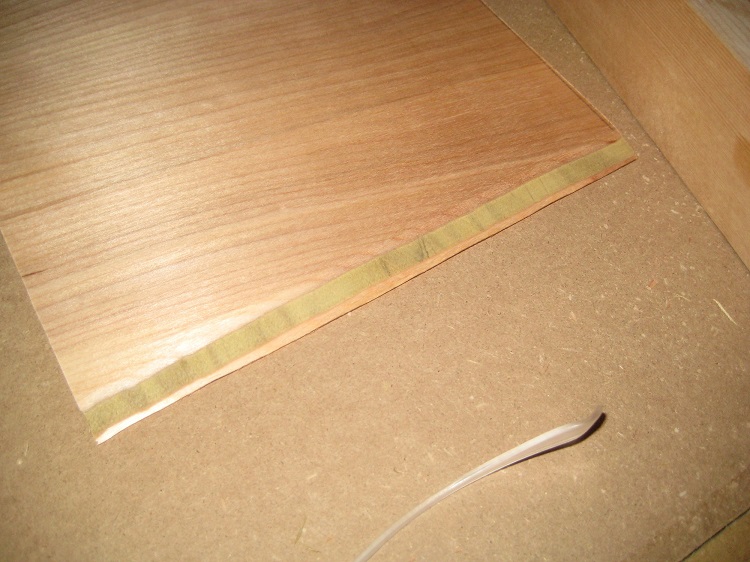
As you can see, the router set-up worked well.
NOTE: for my last scarf, I used a palm sander and eyeballed it. The results were just as good.

Now you need to bend the two side-panels into the shape of an airplane fuselage. In addition to drawing a center-line down the middle of the table, I drew lines at 90 degree angles off the center-line at random (but close) intervals across the entire table. These served as helpful reference points across the table from one panel to the other.
I made three bulkheads out of cheap 3/4" plywood and placed them at key dimensional points between the panels (firewall, front spar, and rear spar). Leave room for the horizontal cross-pieces you'll be installing. The fuselage is upside-down on the table and pressed up against the plywood bulkheads. Everything has to be perfectly plum and square for this operation to turn out right.
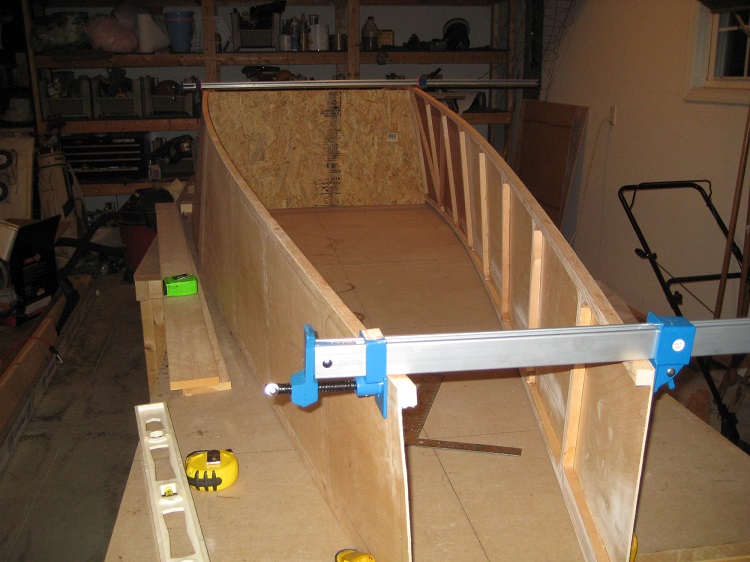
This is a danger point in the build. Some builders have snapped their panels by bending the sides together too vigorously or too quickly. I bent mine together at a leisurely pace over thirteen days. I used the time to get a good start on my wing spars. Rather than trying to force the panels into their final dimensions all at once, I allowed the panels to bend how they wanted at first. I placed support blocks on the insides where they were under the most pressure. I didn't even attach the plywood bulkheads to the table. Slowly, working from front to back and doing only a little each day, I got each station to its final position and blocked it in.
As you do this, the "banana" effect starts setting in. Because the bottom of the fuselage is not as wide as the top, you are also twisting the fuselage while you are bending it. This causes the "boat" to lift off the table in the middle. The banana effect is not an issue at all. I simply made sure that the two sides of my airplane were lifting equally at each cross-reference point down their lengths.
As I slowly bent the fuselage into shape, I started installing the horizontal cross-pieces from front to back, connecting the side-panels together. I used a laser-level throughout this process to ensure that everything was centered perfectly. Because of the banana effect, you can insert long vices under the boat and install most of the cross-pieces between the top longerons as well.
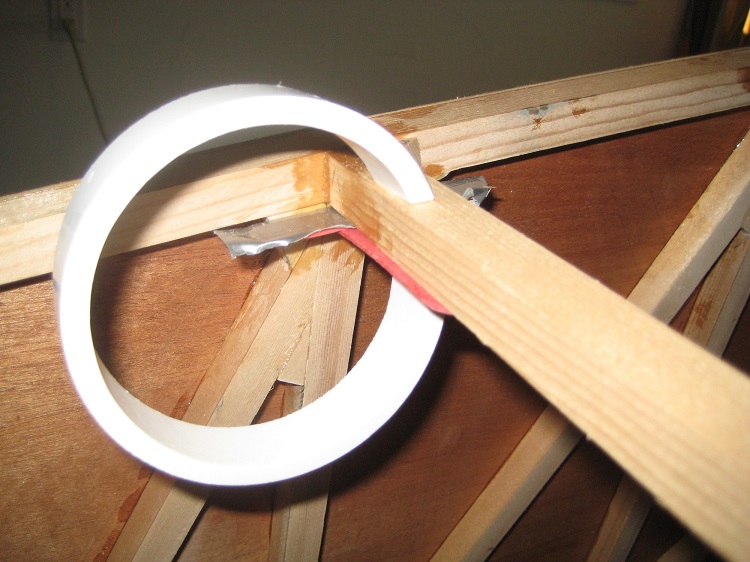
In this picture, you see how I used fat popsicle sticks covered with duct-tape and PVC clamps to create a ledge on which gussets could rest while being epoxied in place.
NOTE: Most of the gussets from this point onward need to be cut at compound angles. A compound miter saw makes the job pretty easy, once you establish your method.
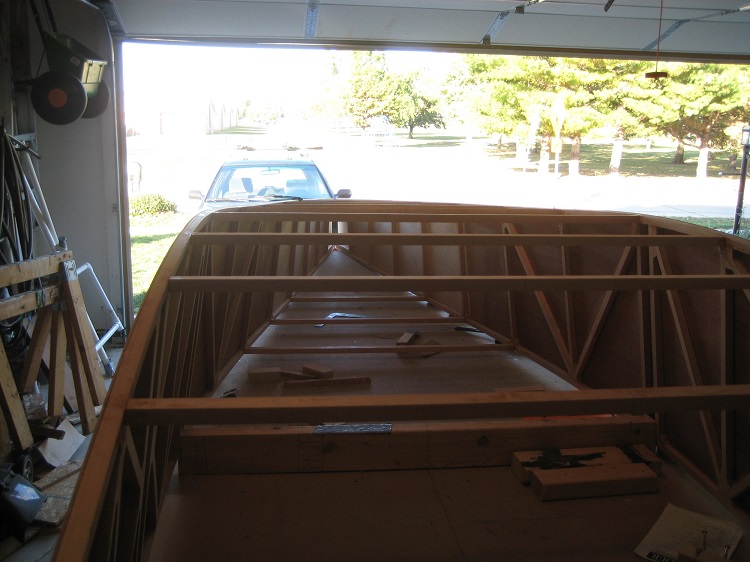
I've epoxied in nearly all the horizontal cross-members, but none of the gussets have been inserted yet.