Fuselage 3
Fuselage page 3
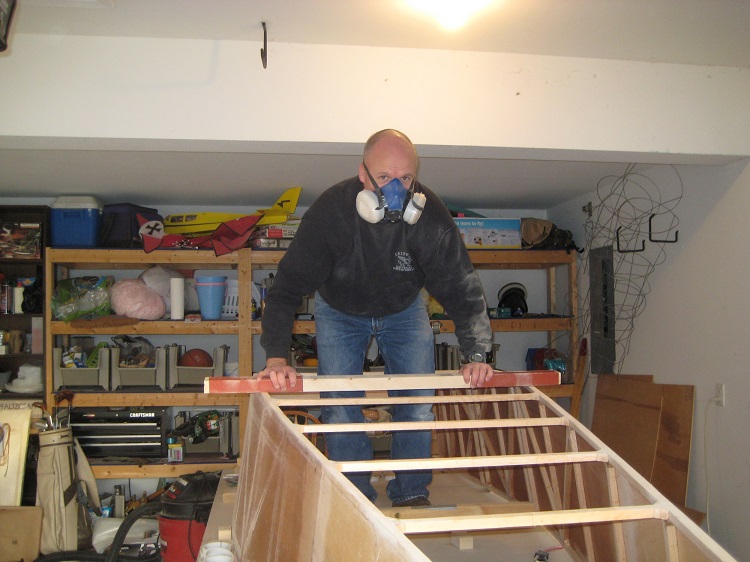
You have to sand the bottom longerons so that the plywood bottom skin can fit snugly. This is not the safest way to perform the operation. I had been eating a lot of donuts that fall.
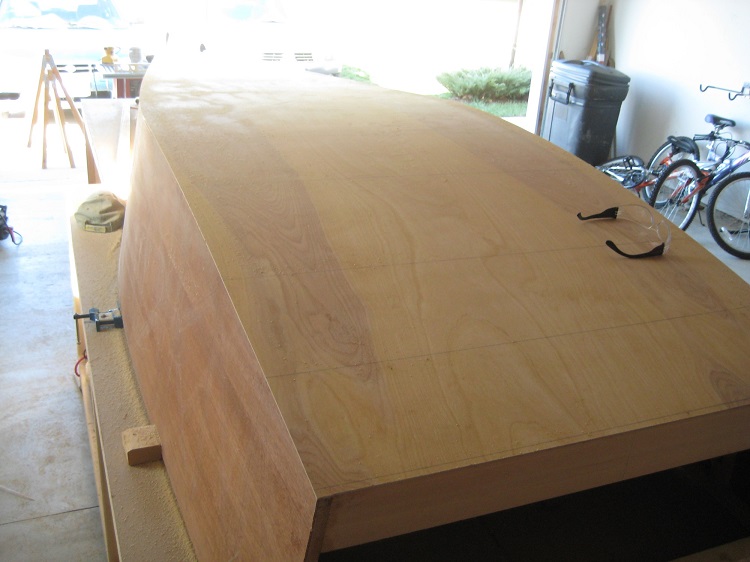
I've epoxied the bottom skin to the fuselage. As with the side panels and wing spar skins, I used regular 1/4" staples to hold the plywood firmly against the spruce while the epoxy cured. After curing, I used a flush-cut bit in my router to shave all the extra plywood from the edges. The result was a smooth, even join between the bottom and sides of my plane. This was a satisfying moment in the build.
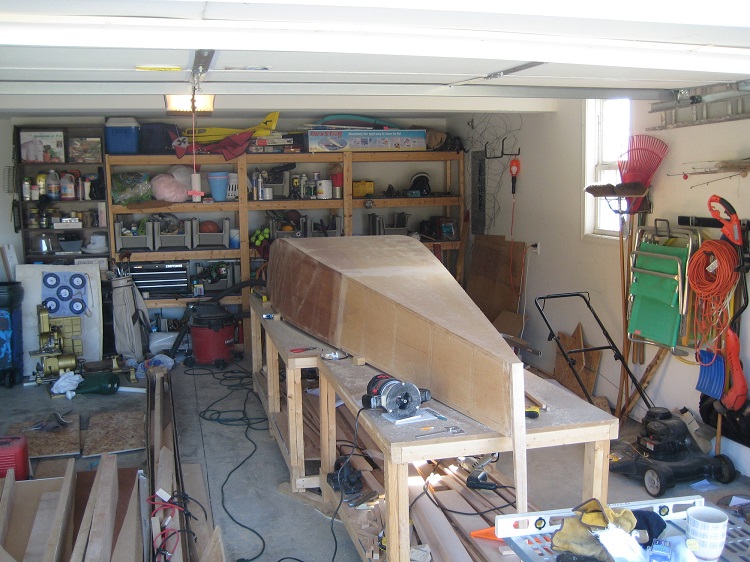
I've included this picture to point out a mistake I made. On closer inspection you'll notice that the plywood side-skins do not wrap around the stern post, like they are supposed to. I thoughtlessly cut the skins flush with the end of the longerons when establishing the 7 degree angle of the stern post.
After consulting with my EAA technical counsellor, I've decided I will attach additional 5/8" blocking to the tailpost on the inside of the fuselage so that the skins will be attached firmly to wooden structure back there. In addition, I will tape the inside seams with carbon fiber. On the outside, I will stick a 1/2" thick piece of foam on the bottom back side of the sternpost and mold it flush with the sternpost sides. Then I will lay a fiberglass skin over the plywood skin, the sternpost side, and the added foam on each side. This will further strengthen the sternpost attachment, and also provide me with a moldable foam cavity into which the rudder spar can fit snugly.
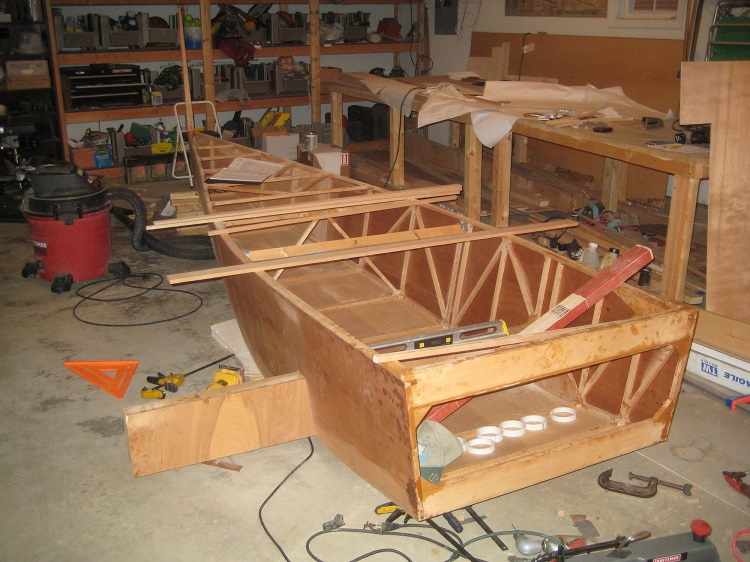
Now I've installed the firewall support braces and shelves on the front of the boat. The woodwork is slightly more complex in this area. The upper longerons have to fit through slots in the braces, and you're working with compound angles everywhere. A scroll saw and some thin files are valuable tools here. I've stuck the center front spar through the fuselage just to see how it looks.
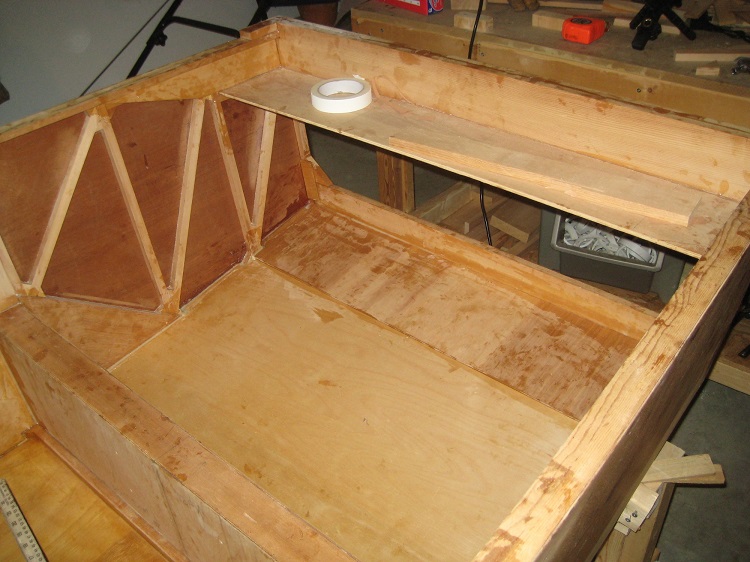
The cockpit floor is now installed. I had to determine the placement of my rudder pedals before doing this. Spruce mounting blocks (hidden under the flooring here) are epoxied in for the pedal installation. Then, I glued a piece of last-a-foam to the floor and sanded it down to the top of the cross-pieces. Over this, I epoxied a 3/32" floor of plywood. Finally, the 1/4" plywood piece is butted up against the firewall. I'm going to cover the cockpit floor with a layer of fine-weave "deck cloth" fiberglass. It will be a good location to practice with fiberglass before tackling the tail feathers. Here you can also see my firewall bracing in a little more detail. You might also notice that behind the center spar, I've coated the floor of my boat with two layers of polyurethane for protection.