Wings 4
Wings page 4
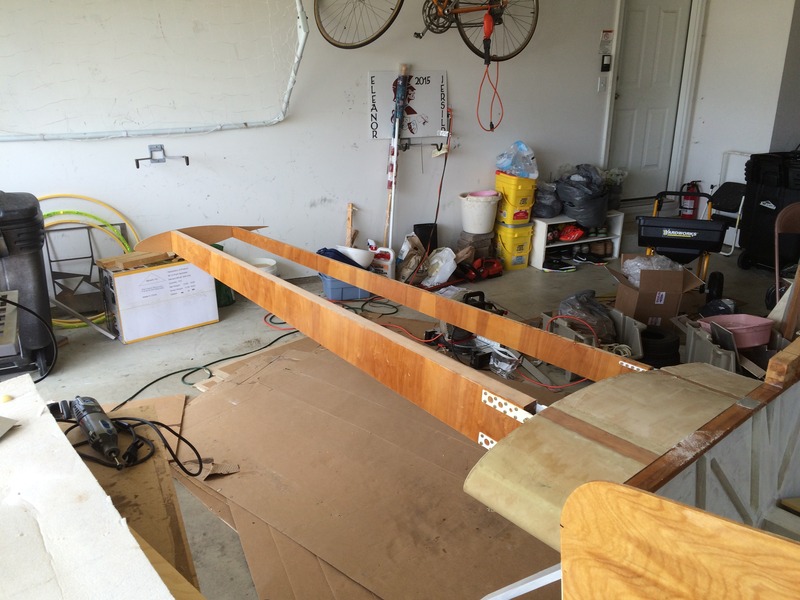
Now that the stub wings are completely glassed, I can get started on the outer wings. Below, the airplane has been turned right-side-up again. With the fuselage perfectly leveled, I attached the big front spar, and as the plans instructed, I "checked to see that its dihedral is still correct." The plans don't tell you what to do if your dihedral has shifted from when you set it; I think you'd be up a creek without a paddle. Then I positioned the skinny rear outer spar so that the outer wing airfoil template is at the proper angle of incidence (the angle of the airfoil--up or down--when viewed in profile). While the stub wing angle of incidence is one degree up, the outer wingtips actually have a slightly negative angle of incidence. This twist in the wing from root to tip is referred to as "washout." It is meant to insure that the different areas of the wing stall at different times, and not violently all at once.
When the wingtip airfoil template was in the correct position, I locked everything firmly in place. Then I drilled holes in the rear outer spar for the wing attach fittings and bolted the spar on. There are no real structural ribs running from the front spar to the rear spar on the KR, as there are in most airplanes. There are only foam ribs to help support the foam wing surface panels while you sand them to shape. Structural rigidity between the spars (beyond the attach fittings) is provided almost completely by the fiberglass surface between them.
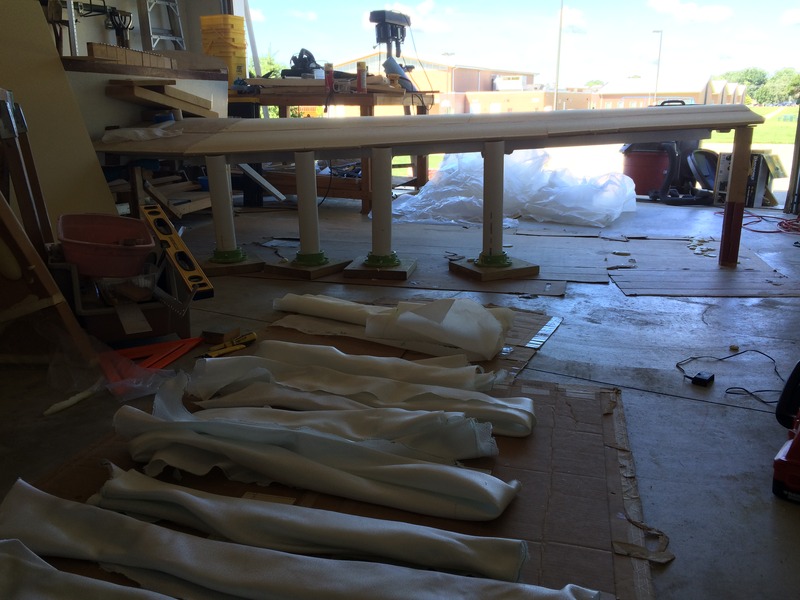
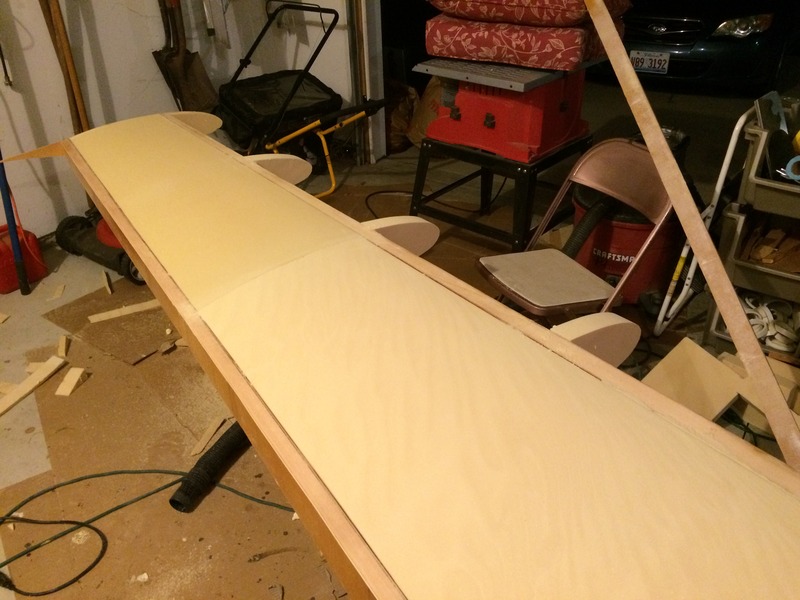
Above: Now that the foam panels have been sanded, fiberglass strips and peel ply are lined up (in the foreground of the picture), ready to apply to the top of the wing. The process of cutting the strips to fit the wing and glassing it all took about 4 and 1/2 hours. Once you start the process with the epoxy, you can't stop, so you have to be organized.
The four PVC "pillars" are supporting a long strip of aluminum angle, which I fit underneath the entire length of the foam on the trailing edge of the wing to support it. Otherwise the trailing edge panels would be too fragile and floppy to sand or glass. I did not construct the bases of the pillars for this purpose; just happened to have them from another project and they came in handy.
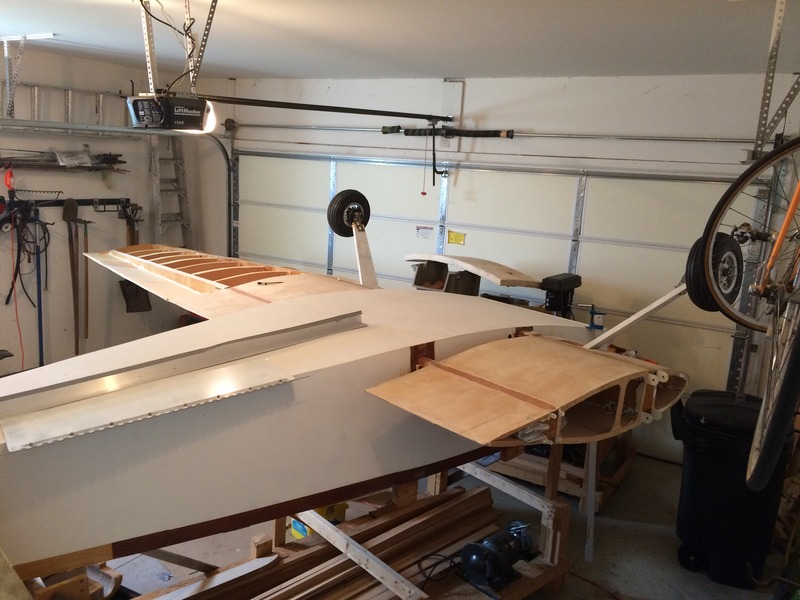
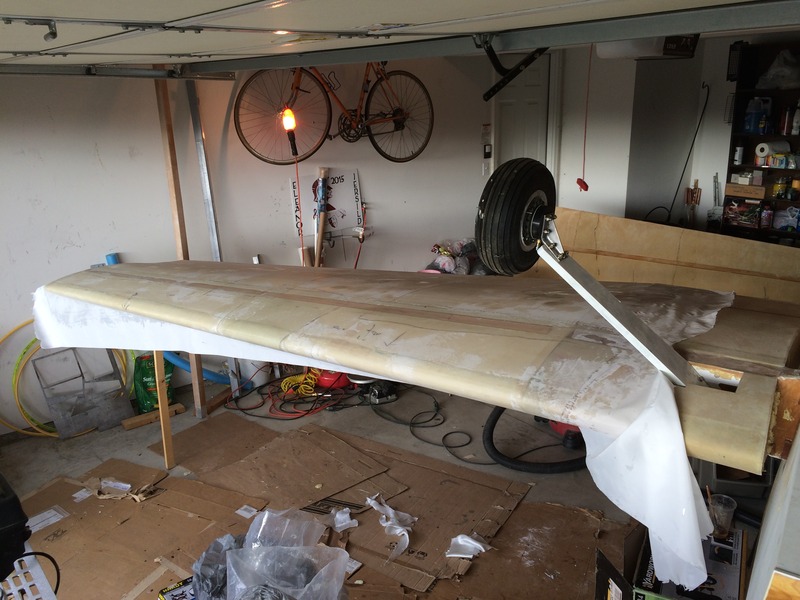
Above: the current view when I enter my garage from the house. I recruited four high school soccer players to flip the plane over this time and affixed a home-made safety guard to the firewall with vices. The protruding wing makes the plane very unbalanced, and it is getting heavy to lift. The landing gear adds weight but for the most part they add some security when you're flipping the plane. I'm glad we'll have to do this only a few more times.
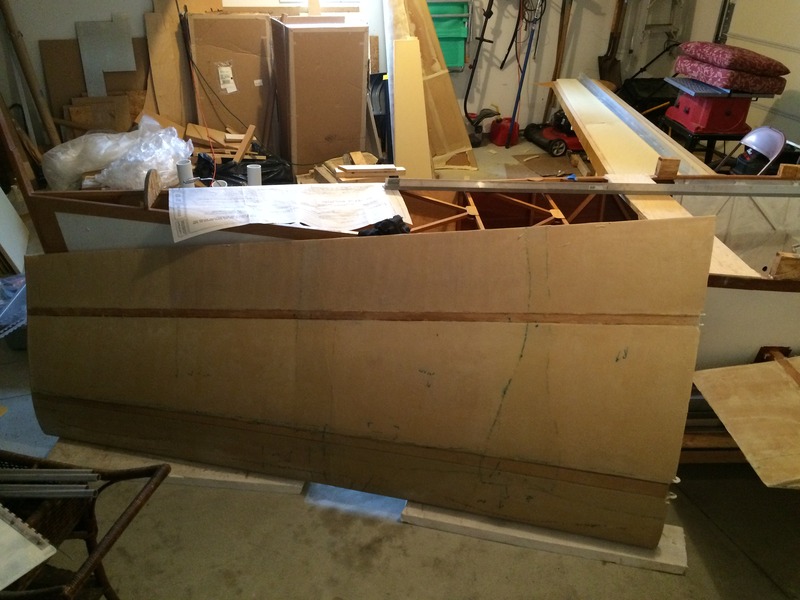
In the open wing, I put twice as many ribs as the plans call for in the center section (one every foot instead of every two feet). I alternated 1" thick ribs with 2" thick ribs (the plans call for 2" ribs). I did this on the advice of a couple of KR builders who said that the foam panels, which sit on top of the ribs, will bow when you sand them because the rib supports are too far apart and the span is too big. I experienced this bowing in a couple of places when I was sanding the turtledeck. It makes the final part of sanding the panels difficult, so I'm glad I put the ribs in. They certainly helped with the top wing panels. It's a little more weight...
The hinged object sitting on the edge of the fuselage is the bellyboard.
Above: The right outer wing, completely glassed. It's much smoother than it looks, but there will be plenty of finishing work to do when the time comes. It weighs 36 pounds. From what I've read, the average weight of a KR outer wing seems to be around 50 pounds. Aileron components, micro, and paint will add weight...but I predict my wings will be on the light side of the spectrum, which is good.
Above: Second verse, same as the first. I've sanded the mid-section of the wing before fitting any panels to the leading and trailing edges to make the job easier. The front ribs are not fully shaped in this picture yet. The 8.5 foot aluminum angle leaning in the background is what I'm using to sand the wings.
Above (October 2, 2016): I've reached a pretty big milestone today; all four sides of the outer wings are now glassed. It was definitely a big and challenging job.
Here, I've just finished putting "peel ply" (the sheetlike covering) over the top of the curing glass. The wet parts of the ply are where I used too much epoxy. The peel ply helps soak up the excess and make everything even and smooth.
The board supporting the wingtip is there to maintain the correct angle of incidence through the glassing process.

October 10, 2016--Above: the beginnings of the fillets which will join the stub wings with the fuselage. A generous radius here is supposed to help rushing air stay attached to the aircraft, minimizing drag. I've had good experience with the liquid two-part "instafoam," so I'll use it as needed to fill gaps in the foam which will inevitably appear as I shape the blocks.